

How to Display Plaques: Expert Steps for Impressive Results
Most American homes have at least one cherished plaque on display, yet many miss out on their true impact by overlooking key details. The right placement and mounting can turn a simple plaque into a focal point that enhances any space. With expert techniques and attention to preservation, you can create a display that stands out and protects your investment for years to come.
Table of Contents
- Step 1: Assess Display Locations For Maximum Impact
- Step 2: Select Suitable Hardware And Mounting Methods
- Step 3: Arrange Plaques For Visual Balance And Style
- Step 4: Securely Install Plaques On Chosen Surfaces
- Step 5: Inspect And Adjust Display For Optimal Presentation
Quick Summary
| Key Point | Explanation |
|---|---|
| 1. Choose High-Visibility Locations | Select display areas that enhance visibility while complementing your room’s design to make a memorable statement. |
| 2. Use Appropriate Mounting Hardware | Ensure your mounting hardware suits the plaque’s weight and surface type to prevent damage and ensure stability. |
| 3. Create Visual Balance in Arrangement | Apply design principles to arrange plaques harmoniously, enhancing their collective visual appeal and impact. |
| 4. Install with Precision and Care | Follow careful installation techniques to ensure secure mounting and protect both the plaque and the surface beneath. |
| 5. Regularly Inspect and Adjust Display | Continuously assess lighting and positioning to maintain optimal visual presentation and protect against environmental factors. |
Step 1: Assess Display Locations for Maximum Impact
Placing your plaque strategically can transform it from a simple decoration to a powerful statement piece. Your goal is identifying spaces that maximize visibility and complement your room’s existing design while protecting the plaque from potential damage.
Start by scanning your available spaces with a critical eye. Professional preservation experts recommend never placing display objects directly on the floor, which helps prevent accidental damage and improves overall presentation. Consider locations that offer clear sightlines such as eye-level wall spaces, shelving units with dedicated display areas, or prominent surfaces like mantels and credenzas.
Lighting plays a crucial role in showcasing your plaque effectively. Strategic illumination positioned 18-24 inches apart near glass or reflective surfaces can dramatically enhance the plaque’s visual impact. Natural light works wonderfully, but avoid direct sunlight which might cause fading or discoloration. Soft ambient lighting or focused track lighting can create elegant highlights that draw attention without overwhelming the piece.
Pro tip: Take photos of potential display locations before making your final decision. This allows you to preview how the plaque will interact with surrounding decor and lighting conditions. Your next step will involve carefully preparing the chosen display area for mounting.
Step 2: Select Suitable Hardware and Mounting Methods
Choosing the right hardware for mounting your plaque is crucial for both aesthetics and long term preservation. You want a solution that secures your plaque firmly while protecting its surface and complementing its design.
Start by assessing your plaque’s weight and the surface you will mount it on. Different materials require different mounting approaches. Professional preservation experts recommend concealed mounting techniques using silicone caulk and sturdy mounting studs to ensure stability and minimize visible hardware. For lighter plaques, adhesive mounting options like museum quality hanging strips or specialized plaque adhesives can work well. Heavier plaques might require more robust solutions such as wall anchors, toggle bolts, or professionally installed mounting brackets.
Carefully inspect your plaque and intended mounting surface before making a final decision. Consider factors like wall material wood, drywall, concrete, or brick and the plaque’s weight distribution. Measure twice and choose mounting hardware that can support the plaque’s weight with a safety margin of at least 30 percent above its actual weight. Avoid putting unnecessary strain on delicate mounting points or using hardware that might compromise the plaque’s integrity.
Pro tip: If you are unsure about the best mounting method for your specific plaque, consult with a professional framer or display specialist who can provide personalized recommendations. Your next step will involve preparing the mounting surface and carefully installing your selected hardware.
Step 3: Arrange Plaques for Visual Balance and Style
Transforming your plaque display from ordinary to extraordinary requires a thoughtful approach to composition and visual harmony. Your goal is creating an arrangement that draws the eye and tells a compelling visual story without overwhelming the space.
Start by considering the fundamental principles of design. Professional visual presentation guidelines recommend using neutral backgrounds and creating deliberate spacing that enhances the artwork’s impact, which applies equally well to plaque displays. When arranging multiple plaques, think about creating visual balance through symmetry or intentional asymmetry. For wall displays, consider grouping plaques with similar sizes or creating a grid pattern that provides a structured look, or alternatively, create an organic cluster that feels more dynamic and spontaneous.
Measurement and alignment are key to a professional presentation. Follow the same principles used by preservation experts when positioning display elements, which emphasize maintaining clear sight lines and avoiding visual clutter. Measure the exact distance between plaques using a level and measuring tape to ensure precise spacing. For a gallery-style arrangement, keep consistent margins between plaques typically 2-3 inches apart. If displaying plaques of different sizes, align them by their center points or create a balanced visual weight by offsetting smaller plaques with larger ones strategically.
Pro tip: Before permanently mounting anything, create paper templates of your plaques and use painter’s tape to mock up potential arrangements on the wall. This allows you to experiment with positioning without making permanent marks. Your next step will involve carefully marking and preparing the mounting locations for your perfectly planned display.
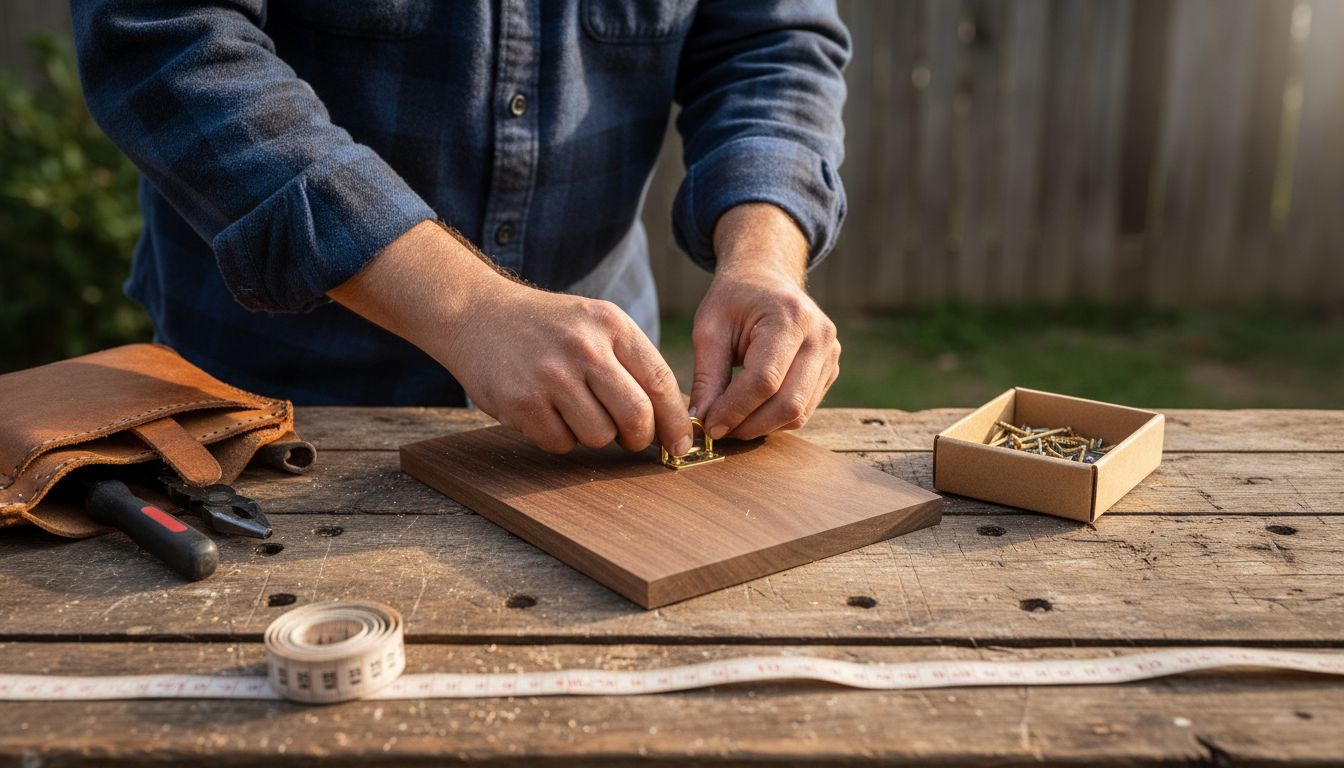
Step 4: Securely Install Plaques on Chosen Surfaces
Installing your plaque requires precision and care to ensure a professional looking display that will stand the test of time. Your goal is creating a secure mounting that protects both the plaque and the mounting surface while maintaining a clean aesthetic appearance.
Professional preservation techniques recommend specific mounting methods that guarantee stability and durability. Begin by cleaning the mounting surface thoroughly to remove dust dirt or debris that might compromise adhesion. For walls select mounting hardware appropriate to the surface type wood drywall plaster or concrete. Lightweight plaques can often use adhesive mounting strips while heavier plaques require wall anchors or mounting screws that penetrate wall studs for maximum support.
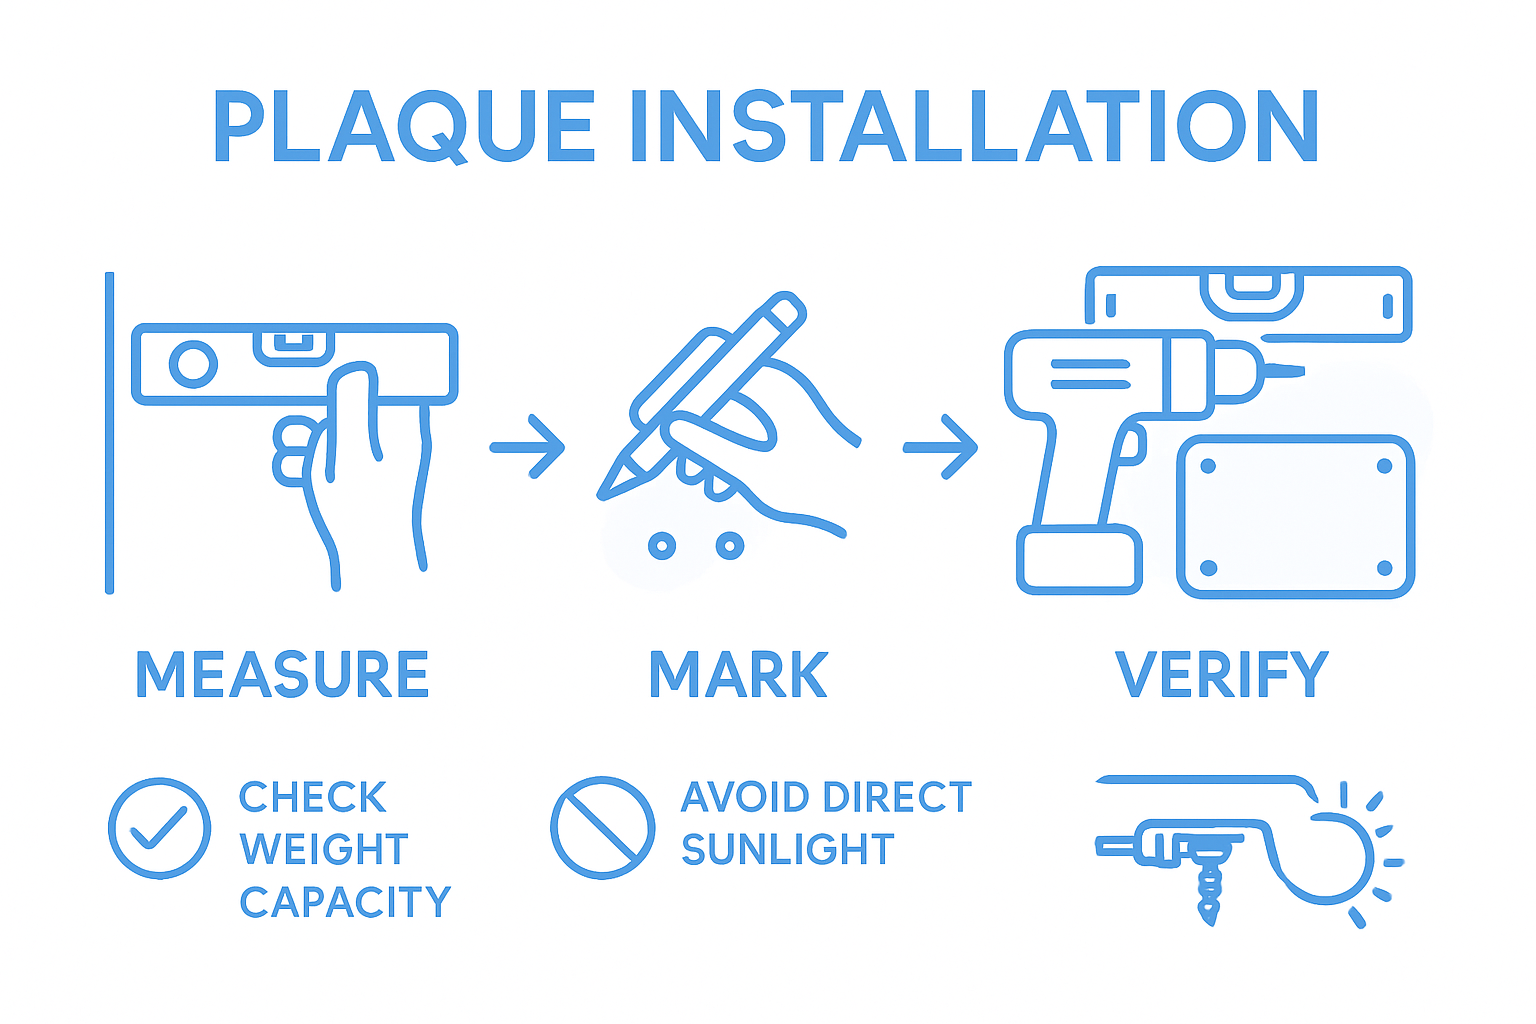
Precision is key when installing your plaque. Use a level and measuring tape to ensure exact positioning mark your mounting points lightly with a pencil before drilling. Always drill pilot holes slightly smaller than your mounting screws to prevent wall damage and ensure a secure fit. When using silicone caulk apply a thin continuous bead around the plaque’s mounting points to create additional stability and prevent moisture intrusion. For added protection consider using rubber or felt backing pads that can help distribute weight and prevent surface scratching.
Pro tip: Always test the mounting hardware’s weight capacity before installation and have a helper available when mounting heavier plaques. Your next step involves performing a final inspection to ensure the plaque is level secure and professionally displayed.
Step 5: Inspect and Adjust Display for Optimal Presentation
With your plaque carefully mounted, the final stage involves fine tuning its presentation to ensure maximum visual impact and preservation. Your goal is creating a display that not only looks professional but protects your plaque from potential damage.
Preservation experts emphasize the critical importance of carefully regulating lighting conditions to prevent irreversible damage to displayed items. Begin by examining the plaque from multiple angles and distances to assess its visibility and aesthetic appeal. Check for any slight unevenness in mounting ensure the plaque sits perfectly flush against the surface. Adjust lighting to highlight the plaque without creating harsh glares or shadows subtle ambient lighting works best for creating a professional presentation.
Pay close attention to environmental factors that could impact your display. Avoid placing the plaque in direct sunlight or areas with extreme temperature fluctuations. Professional display recommendations suggest using specialized lighting techniques such as focused track lighting or gooseneck lights to create optimal visual interest. Step back and view the plaque from different perspectives throughout the day to ensure consistent visibility and impact.
Pro tip: Take a smartphone photo of your display and review it objectively. This helps you spot any alignment issues or visual imbalances that might not be immediately apparent in person. Your display is now complete and ready to showcase your plaque with professional polish.
Elevate Your Plaque Display with Custom Awards from Gino’s Awards Inc.
Displaying plaques securely and beautifully can be challenging. The article highlights common hurdles such as selecting the right mounting method, positioning with perfect balance, and protecting your plaque under optimal lighting. These details ensure your awards make a lasting impression while being preserved for years to come. If you want to avoid guesswork and create a stunning presentation that truly honors achievements, consider professional customization and quality craftsmanship.
Discover a wide selection of personalized plaques and custom awards at Gino’s Awards Inc.. Our expertly designed products come ready for display with options that complement your mounting preferences and aesthetic goals. From elegant recognition plaques to corporate awards, our catalog offers solutions that match your exact needs and help turn your plaque display into a memorable showcase.

Start transforming your award displays today by exploring our custom plaques and awards collection. With free personalization and fast shipping, trust Gino’s Awards Inc. to help you honor milestones with style and confidence. Visit https://ginosonline.com now and secure your perfect plaque solution.
Frequently Asked Questions
How can I choose the best location to display my plaque?
Selecting the best location for your plaque involves finding a spot that maximizes visibility while enhancing your room’s design. Look for eye-level wall spaces, dedicated shelves, or prominent surfaces such as mantels. Take a photo of potential locations to visualize how the plaque will fit with existing decor.
What mounting hardware should I use for my plaque?
Use appropriate mounting hardware based on the plaque’s weight and the surface material. For heavier plaques, consider wall anchors or toggle bolts, while lighter options may benefit from adhesive strips. Ensure the hardware can support at least 30% more than the plaque’s actual weight for added safety.
How can I ensure my plaque arrangement looks visually balanced?
To achieve a visually balanced arrangement, consider symmetry in your display by grouping plaques of similar sizes or creating a structured grid. Avoid clutter by maintaining 2-3 inches of space between plaques and aligning them at their center points for a cohesive look. Use paper templates to experiment with positioning before mounting.
What are the best practices for installing plaques?
When installing plaques, ensure you clean the mounting surface and use a level for precise alignment. Mark your mounting points lightly with a pencil before drilling pilot holes to prevent damage. Secure the plaque using appropriate mounts, and consider silicone caulk for extra stability.
How can I protect my plaque from damage after installation?
To protect your plaque from potential damage, place it away from direct sunlight and areas of extreme temperature fluctuations. Adjust lighting to eliminate glare while creating visual interest. Regularly inspect the display for alignment or environmental changes, and take notes for necessary adjustments to maintain its presentation.
Recommended
- The Ultimate Guide to Choosing the Perfect Plaque – Gino’s Awards, Inc.
- Welcome & The Power of Employee Recognition – Gino’s Awards, Inc.
- Creative Plaque Award Ideas for Every Occasion – Gino’s Awards, Inc.
- How to Personalize Plaques for Any Occasion Easily – Gino’s Awards, Inc.
- Medal Court Mounting: Tips and Techniques – The Regimental Store Ltd