



How to Ensure Error-Free Award Engraving
Table of Contents
- Why Award Engraving Errors Happen (and How to Prevent Them)
- Step 1: Verify Every Name, Title, and Date Before You Submit
- Step 2: Choose Standard Award Inscription Examples That Fit the Plate
- Step 3: Use an Award Engraving Proofreading Checklist for Formatting
- Step 4: Master the Digital Proofing Workflow
- Step 5: Understand Custom Award Engraving Turnaround Time and Production
- Common Engraving Mistakes to Avoid on Different Materials
- What to Do If an Award Arrives With Errors
- Frequently Asked Questions
Last Updated: September 8, 2026
Why Award Engraving Errors Happen (and How to Prevent Them)
Award engraving is permanent, and errors usually happen because verification occurs too late. By the time a plate is etched, a typo becomes a costly reorder. At Gino's Awards, Inc., we've spent nearly 75 years in the industry, and we've observed consistent patterns in how errors occur.
Most errors trace back to rushing approval: a spreadsheet list is submitted, the proof goes to the wrong person, or formatting isn't checked against the plate size. The fix requires a deliberate workflow.
Error-free award engraving comes down to five practices: verifying data at the source, matching text length to the plate, using a structured proofreading checklist, confirming the digital proof, and understanding production constraints. Below, we walk through each step so your order arrives as intended.
Step 1: Verify Every Name, Title, and Date Before You Submit
Verification should start with the original data, not the proof. Spelling errors often originate in an outdated employee list or a hastily typed email. Cross-check every name against a primary source like an HR database, and confirm titles match current roles.
Don't assume a name is correct because it looks familiar. Names like "Jon" versus "John" need explicit confirmation, as do dates, check hire dates and anniversary years against official records.
Before you hit submit, ask yourself three questions:
- Is the full legal name correct, including suffixes like Jr. or III?
- Does the title reflect the person's current position?
- Is the year or date formatted consistently with past awards?
For bulk orders, a single unchecked spreadsheet cell can duplicate across dozens of plaques. Sort, filter, and review your data before sending it to production.
Step 2: Choose Standard Award Inscription Examples That Fit the Plate
Standard award inscription examples are tested lengths that fit common plate sizes without awkward wrapping. A typical 2-inch by 8-inch plate fits roughly 40 to 45 characters per line across two or three lines, depending on font size.
The plate size dictates line structure. Prioritize the recipient's name as the largest element, keep the award title on one line, and use a smaller font for the company name or date if needed.
Consider the character limit for each line. A phrase like "In Recognition of Outstanding Service" may fit on one line at 18-point type but require two at 24-point. When in doubt, shorten the message.
Step 3: Use an Award Engraving Proofreading Checklist for Formatting
Formatting errors are quiet killers. Spelling might be perfect, but if alignment is off or font is inconsistent, the award looks wrong. An award engraving proofreading checklist catches these issues before they become permanent.
Work through this checklist for every order, no matter how small:
- Recipient name spelled exactly as provided in the data source
- Title and company name verified against current records
- Dates formatted consistently (e.g., "2026" not "26")
- Text fits within the plate boundaries with adequate margin
- Line breaks fall between words, not mid-word
- Font size matches the plate dimensions
- All text is centered or aligned per the approved layout
- No stray punctuation, double spaces, or missing periods
- Uppercase and lowercase usage matches the intent (e.g., all-caps for titles, title case for names)
- Logo or artwork is positioned with proper clearance from text
Consistency matters across a series. If you're ordering 50 service awards, plaque 47 must match plaque 3. Standardize your template so the only variable is the recipient's name and date.
Step 4: Master the Digital Proofing Workflow
A digital proof is your last chance to catch an error, and most mistakes happen because it's reviewed too quickly or by the wrong person. The proof shows the exact layout that will be engraved, so treat it as a final contract.
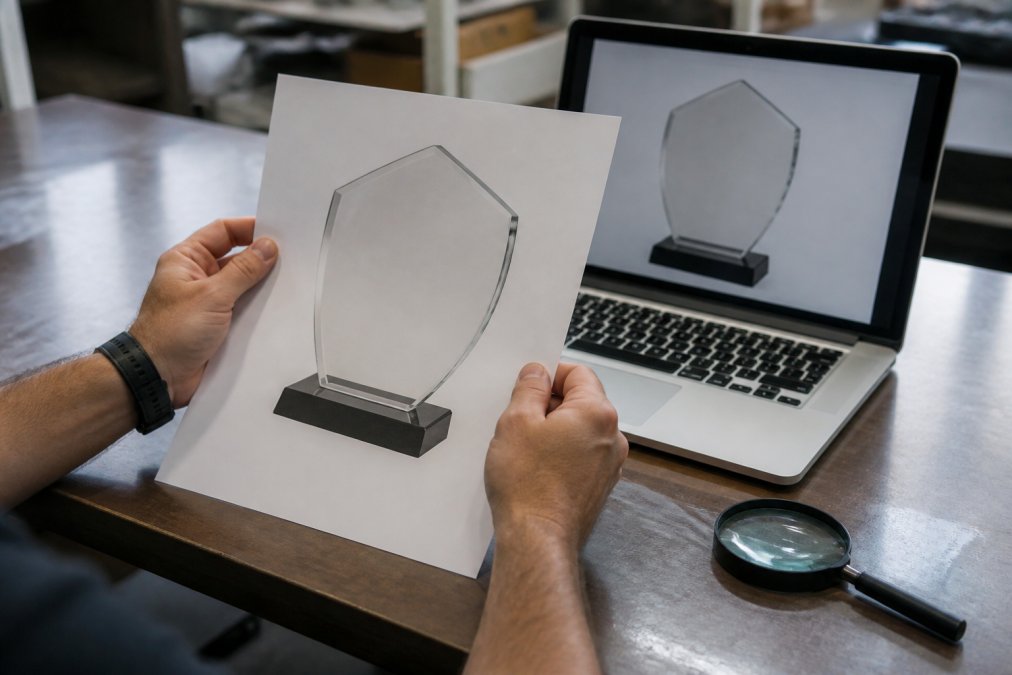
Use two reviewers: the person who submitted the order checks content accuracy, and a second person uninvolved in data entry reviews visual balance. Fresh eyes catch what familiarity misses.
When you receive the proof, zoom to 100 percent and read every word aloud. Check names against your source, confirm dates, and verify logo orientation. Flag anything off before approving, once approved, changes become far more difficult.
Step 5: Understand Custom Award Engraving Turnaround Time and Production
Custom award engraving turnaround time affects your flexibility for corrections. If you need awards in 10 days, you have less room for revisions than if you ordered six weeks ahead. Planning backward from your event date is the most effective way to reduce errors.
A realistic timeline includes data collection, proof review, and revisions, not just engraving. At Gino's Awards, Inc., our on-site manufacturing allows fast turnaround, but even the fastest production cannot fix a mistake if the client approves an incorrect proof.
Set an internal deadline for proof approval at least two days before production begins. This buffer accommodates a revision cycle. If your event is soon, communicate urgency upfront so the team can flag delays.
| Production Phase | Typical Timeframe | Key Action |
|---|---|---|
| Data collection | 2-3 days before order | Verify names and dates |
| Proof generation | 1-2 days after order | Review layout and text |
| Proof approval | Within 48 hours | Confirm accuracy |
| Engraving and finishing | 3-5 days | Production begins |
| Shipping | 2-5 days | Track delivery |
Common Engraving Mistakes to Avoid on Different Materials
The substrate you choose determines which errors are possible. A font that looks crisp on a printed proof can become illegible when etched into dark acrylic or coarse-grained wood. Understanding each material is the difference between catching a problem in the proof and discovering it after production.
Laser Engraving on Acrylic
Laser engraving on acrylic produces high-contrast results because the beam vaporizes the surface layer. The most common error is assuming fine serif fonts will hold their shape. Below roughly 14 points, the laser's kerf can merge thin strokes into a blob (epiloglaser.com). Times New Roman that looks elegant at 24 points becomes unreadable at 12 points on a 1/8-inch acrylic plate.
Switch to a sans-serif font like Helvetica or Arial for text under 18 points; these have uniform stroke widths that survive the burn pattern. Also keep at least 1/4 inch of clear margin between text and any edge, the laser can reflect off a beveled edge, producing a faint double-image line.
Rotary Engraving on Metal
Rotary engraving cuts a recessed line using a spinning cutter bit. A common error is using a bit too small for the font size, producing a shallow cut that disappears under certain lighting. For a 1-inch tall letter, use a bit with a cutting diameter of at least 0.060 inches.
Metal plates vary by hardness. Brass and aluminum work with standard carbide bits, but stainless steel requires a diamond-tipped bit and slower feed rates. Confirm the engraver uses correct tooling for stainless steel, a standard bit will skip and produce uneven line depth.
Wood Plaques and Grain Direction
Grain direction is the single biggest factor in wood engraving quality. Engraving across the grain produces fuzzy edges because the bit tears fibers; engraving with the grain produces sharp lines but can be hard to read on wood with a pronounced figure.
For wood plaques, use a font with thick, bold strokes. Script fonts and thin serifs get lost in the grain, especially on oak, ash, or hickory. Maple and cherry hold detail better but are lighter, reducing contrast. On light wood, ask for a darker fill or contrasting insert for readability.
Crystal and Glass: The Subsurface Problem
Crystal awards are typically engraved on the subsurface, creating fractures inside the glass. Text is only visible when light refracts at the right angle. A common mistake is approving a proof without considering the viewing angle, text that looks centered on a flat proof may appear shifted on a shelf.
Crystal has a narrower tolerance for font size. Below 10 points, subsurface fractures merge into an unreadable haze. Keep text above 12 points and avoid condensed fonts.
A Practical Material Checklist
Before you approve any proof, ask the engraver these three questions:
- What is the minimum readable font size for this specific material and finish?
- Does the plate or plaque have a coating or laminate that affects contrast?
- Are there any edge effects, bevels, or grain patterns that will interfere with text placement?
These questions force the production team to think through physical constraints before they cut. Most material errors are readability failures, not spelling mistakes, and could be caught with a simple conversation about the substrate.
What to Do If an Award Arrives With Errors
Even with rigorous proofing, errors can slip through. How you respond in the first 24 hours determines whether the fix takes two days or two weeks.
Document the Error Before You Call
The most common mistake is calling the engraver immediately without evidence. A verbal description of "the name looks wrong" doesn't help diagnose whether the issue is data entry, font rendering, or a physical defect. Take these three steps before you pick up the phone:
- Photograph the award in good lighting. Capture the engraving from a 45-degree angle to show depth and contrast.
- Compare the physical award to the approved proof. Photograph them together to show where production deviated.
- Write down the specific discrepancy. Instead of "the name is wrong," write "the proof shows 'Ashleigh' but the plate reads 'Ashley'." Specificity speeds up diagnosis.
Understand the Warranty and Rework Policy
Gino's Awards, Inc. stands behind its work. But the conversation changes depending on where the error originated:
- Production error: The engraver misread the proof, used the wrong font, or placed text incorrectly. This is the engraver's responsibility, and they should re-engrave or replace the award at no cost.
- Proof approval error: You approved a proof that contained a misspelling or layout issue. The engraver produced exactly what you confirmed. In this case, the provider may offer a goodwill discount on a reorder, but they are not obligated to replace it for free.
- Material defect: The plate arrived with a scratch, bubble, or coating flaw that was not visible in the proof. This is a manufacturing defect and should be covered under warranty.
Establish a Resolution Timeline
When you contact the engraver, ask: "How long will the replacement take?" and "Will it match the original order's finish and material?" A rushed replacement may use a different batch of acrylic or wood stain, creating a visible mismatch.
A single plaque re-engraving and bulk orders require specific timelines. If your ceremony is within a week, ask about expedited production, which may add cost.
Communicate With the Vendor Like a Professional
Treat the conversation as a collaborative diagnosis, not a complaint. Send photos, the approved proof, and a written description of the discrepancy. Ask them to confirm whether the issue is on their side or in the approved artwork.
Have the original order number, proof approval timestamp, and the name of the approver ready, this cuts diagnostic time in half. If working with a sales rep, ask to be connected to the shop floor supervisor, who can assess whether the error is fixable by re-engraving or requires replacement.
When the Error Is Yours: Negotiating a Reorder
If the error was in the approved proof, you still have options. Many companies offer a reorder discount as a goodwill gesture, especially for repeat customers. Ask politely and acknowledge the error was on your side.
At Gino's Awards, Inc., we review error reports to identify whether the mistake was a process failure or a proofing gap. This review leads to improvements in our processes.
Frequently Asked Questions
What are the most common mistakes made during award engraving?
The most frequent errors are misspelled names, incorrect titles, wrong dates, and inconsistent formatting across a batch. Many mistakes trace back to typos in the original order form or copy-paste errors from spreadsheets. Character limits also cause problems when text gets truncated or auto-shrunk to fit a plate. A second person reviewing the proof against your original source data catches most of these issues before production begins.
How should I proofread text for custom awards?
Read the text aloud exactly as written, then read it backward word by word to catch spelling errors your brain would otherwise skip. Verify every name against a primary source like a personnel file or HR record, not a forwarded email. Confirm titles and dates separately. Check that line breaks fall naturally and the font size remains legible. Finally, have someone who did not type the order review the proof with fresh eyes.
Can an incorrect engraving on a plaque or trophy be fixed?
It depends on the material and the depth of the engraving. Laser engraving on coated metals often cannot be corrected because the process removes the finish. Rotary engraving on acrylic or wood may be filled and redone, but the repair is usually visible. Crystal and glass are nearly impossible to repair cleanly. Because corrections are limited, options for resolution may include replacing the affected component or re-manufacturing the item.
What is the best way to submit engraving instructions to a vendor?
Submit a clean digital file or spreadsheet with columns for each data field: recipient name, title, years of service, and the exact inscription text. Avoid embedding instructions in email body text where formatting can shift. Use a shared proofing template if the vendor provides one. Clearly mark which lines are centered, bold, or require a specific font size. This removes ambiguity and gives both sides a single reference document.